Taking screenshots is one of the most useful things you can do on a computer, whether you’re saving important information, reporting an error, making a tutorial, or sharing something instantly.
The good part? Both Mac and Windows offer multiple ways to capture screenshots — from full screen capture to selected areas, specific windows, scrolling screenshots, and even screen recording.
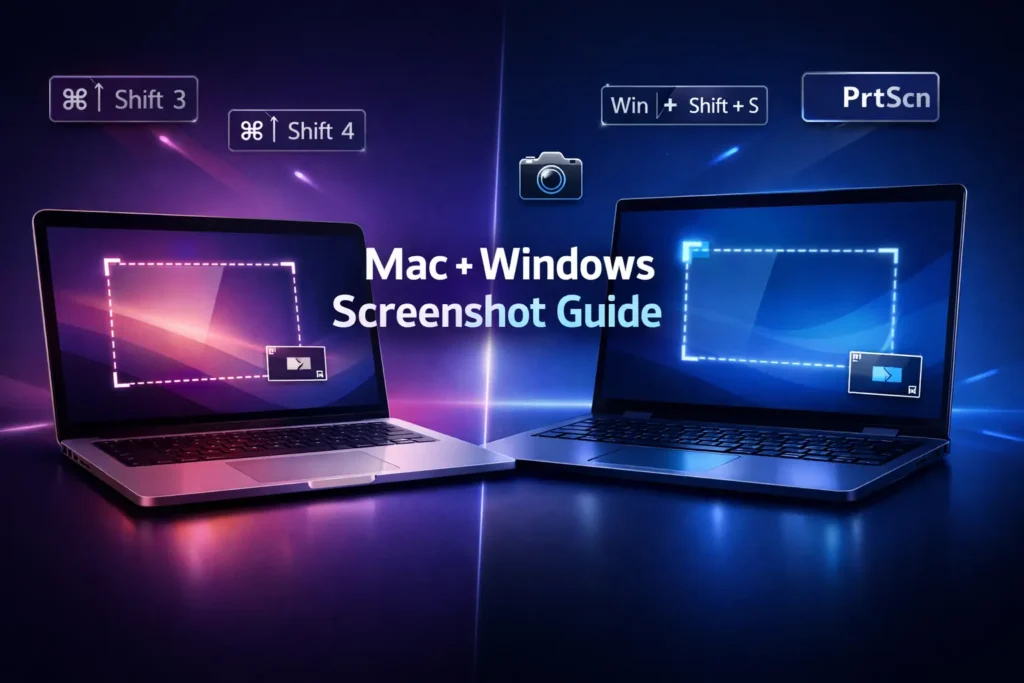
In this guide, you’ll learn every working method to take screenshots on Mac and Windows, with step-by-step instructions and shortcut keys.
✅ How to Screenshot on Mac (All Methods)
Mac (macOS) has built-in screenshot shortcuts and a screenshot tool that makes capturing super easy.
1) Take a Full Screen Screenshot on Mac
✅ Shortcut
Command (⌘) + Shift + 3
Step-by-step
- Press ⌘ + Shift + 3
- Your Mac will instantly capture the entire screen
- A thumbnail appears at the bottom-right corner
- Click it to edit or wait for it to save automatically
📍 Where it saves
Your screenshot will be saved to your Desktop by default.
2) Take a Selected Area Screenshot on Mac
This is the most common method when you want to capture only a part of the screen.
✅ Shortcut
Command (⌘) + Shift + 4
Step-by-step
- Press ⌘ + Shift + 4
- Your cursor becomes a crosshair (+)
- Click and drag to select the area you want
- Release the mouse/trackpad to capture it
Extra tip
- Press Esc to cancel before capturing
3) Screenshot a Specific Window on Mac
Great for capturing just one application window neatly.
✅ Shortcut
Command (⌘) + Shift + 4, then press Spacebar
Step-by-step
- Press ⌘ + Shift + 4
- Press the Spacebar
- Your cursor turns into a camera icon 📷
- Click on the window you want to capture
This captures a clean screenshot with proper window borders and shadow.
4) Use the Screenshot Toolbar on Mac (Best Method)
macOS includes a built-in screenshot menu with more controls.
✅ Shortcut
Command (⌘) + Shift + 5
Step-by-step
- Press ⌘ + Shift + 5
- You’ll see a screenshot toolbar with options like:
- Capture Entire Screen
- Capture Selected Window
- Capture Selected Portion
- Record Entire Screen
- Record Selected Portion
- Select the option you want
- Click Capture
Bonus: Change save location
Click Options → Select:
- Desktop
- Documents
- Clipboard
- Other Location
5) Take a Screenshot and Copy to Clipboard (Mac)
This is useful when you want to paste it directly into a chat, email, or document.
✅ Full screen to clipboard
⌘ + Control + Shift + 3
✅ Selected area to clipboard
⌘ + Control + Shift + 4
Step-by-step
- Use any of the shortcuts above
- Your screenshot is copied (not saved)
- Press Command (⌘) + V to paste it anywhere
✅ How to Screenshot on Windows (All Methods)
Windows offers multiple screenshot tools depending on your version (Windows 10 or 11), including keyboard shortcuts and built-in apps.
1) Take a Full Screen Screenshot on Windows
✅ Shortcut
PrtScn (Print Screen)
Step-by-step
- Press the PrtScn key
- Windows copies the entire screen to the clipboard
- Open any app like:
- Paint
- Word
- Photoshop
- Press Ctrl + V to paste
- Save the file manually
✅ Best for quick copy & paste screenshots.
2) Save Full Screen Screenshot Automatically (Windows)
✅ Shortcut
Windows + PrtScn
Step-by-step
- Press Windows key + PrtScn
- Your screen dims briefly (screenshot taken)
- It gets saved automatically
📍 Where it saves
Go to:
This PC → Pictures → Screenshots
3) Screenshot a Selected Area (Best Method)
✅ Shortcut
Windows + Shift + S
This opens the Snipping overlay where you can select the exact part of the screen.
Step-by-step
- Press Windows + Shift + S
- Your screen will darken
- Choose one option:
- Rectangular Snip
- Freeform Snip
- Window Snip
- Fullscreen Snip
- Select the area/window
- Screenshot is copied to clipboard
- Click the notification to edit/save it
✅ This is the most useful screenshot method on Windows.
4) Screenshot a Specific Window (Windows)
✅ Shortcut
Alt + PrtScn
Step-by-step
- Open the window you want to capture
- Click on it to make it active
- Press Alt + PrtScn
- It copies only that window to clipboard
- Paste it using Ctrl + V in Paint/Word
5) Use Snipping Tool (Windows Built-in App)
Windows has a full screenshot tool that lets you capture, edit, and save screenshots easily.
Step-by-step
- Open Start Menu
- Search Snipping Tool
- Click New
- Select the area you want
- Edit using the pen/crop tools
- Click Save to store it
✅ Works great for professional screenshots and annotations.
6) Take a Screenshot on Windows Laptop Without PrtScn Key
Some laptops require the Fn key.
✅ Try these:
- Fn + PrtScn
- Fn + Windows + PrtScn
- Fn + Alt + PrtScn
(Varies by laptop brand)
📌 Where Screenshots Are Saved (Mac vs Windows)
✅ Mac
By default: Desktop
(You can change via ⌘ + Shift + 5 → Options)
✅ Windows
- Windows + PrtScn → Pictures → Screenshots
- PrtScn / Win + Shift + S → Clipboard (paste/save manually)
🔥 Extra Tips for Better Screenshots
✅ For tutorials: Use rectangular screenshots (clean and readable)
✅ For error reporting: Take full-screen or active-window screenshot
✅ For better editing:
- Mac: Use screenshot preview editor
- Windows: Use Snipping Tool editor
✅ Rename screenshots properly:
Example:
mac-screenshot-settings.pngwindows-error-popup.png
✅ Quick Shortcut Summary (Cheatsheet)
Mac shortcuts
- Full screen: ⌘ + Shift + 3
- Selected area: ⌘ + Shift + 4
- Window screenshot: ⌘ + Shift + 4 → Spacebar
- Screenshot toolbar: ⌘ + Shift + 5
- Copy to clipboard: add Control key
Windows shortcuts
- Full screen copy: PrtScn
- Full screen save: Windows + PrtScn
- Selected area: Windows + Shift + S
- Active window: Alt + PrtScn
Final Thoughts
Whether you’re using a MacBook or a Windows PC, taking screenshots is super simple once you know the right shortcut. Use the methods above based on your needs like full screen, window-only, or a selected area.


Pingback: How to Screenshot on iPhone & Android (Complete Step-by-Step Guide) - gadget180.com